Today's post is another wedding quilt. Wedding quilts are always so exciting to make! I was told the couple liked vintage for style, navy, and dark greens for colors, and sunflowers.
It's hard to see but the light gray fabric is really an off-white with light gray sunflowers.

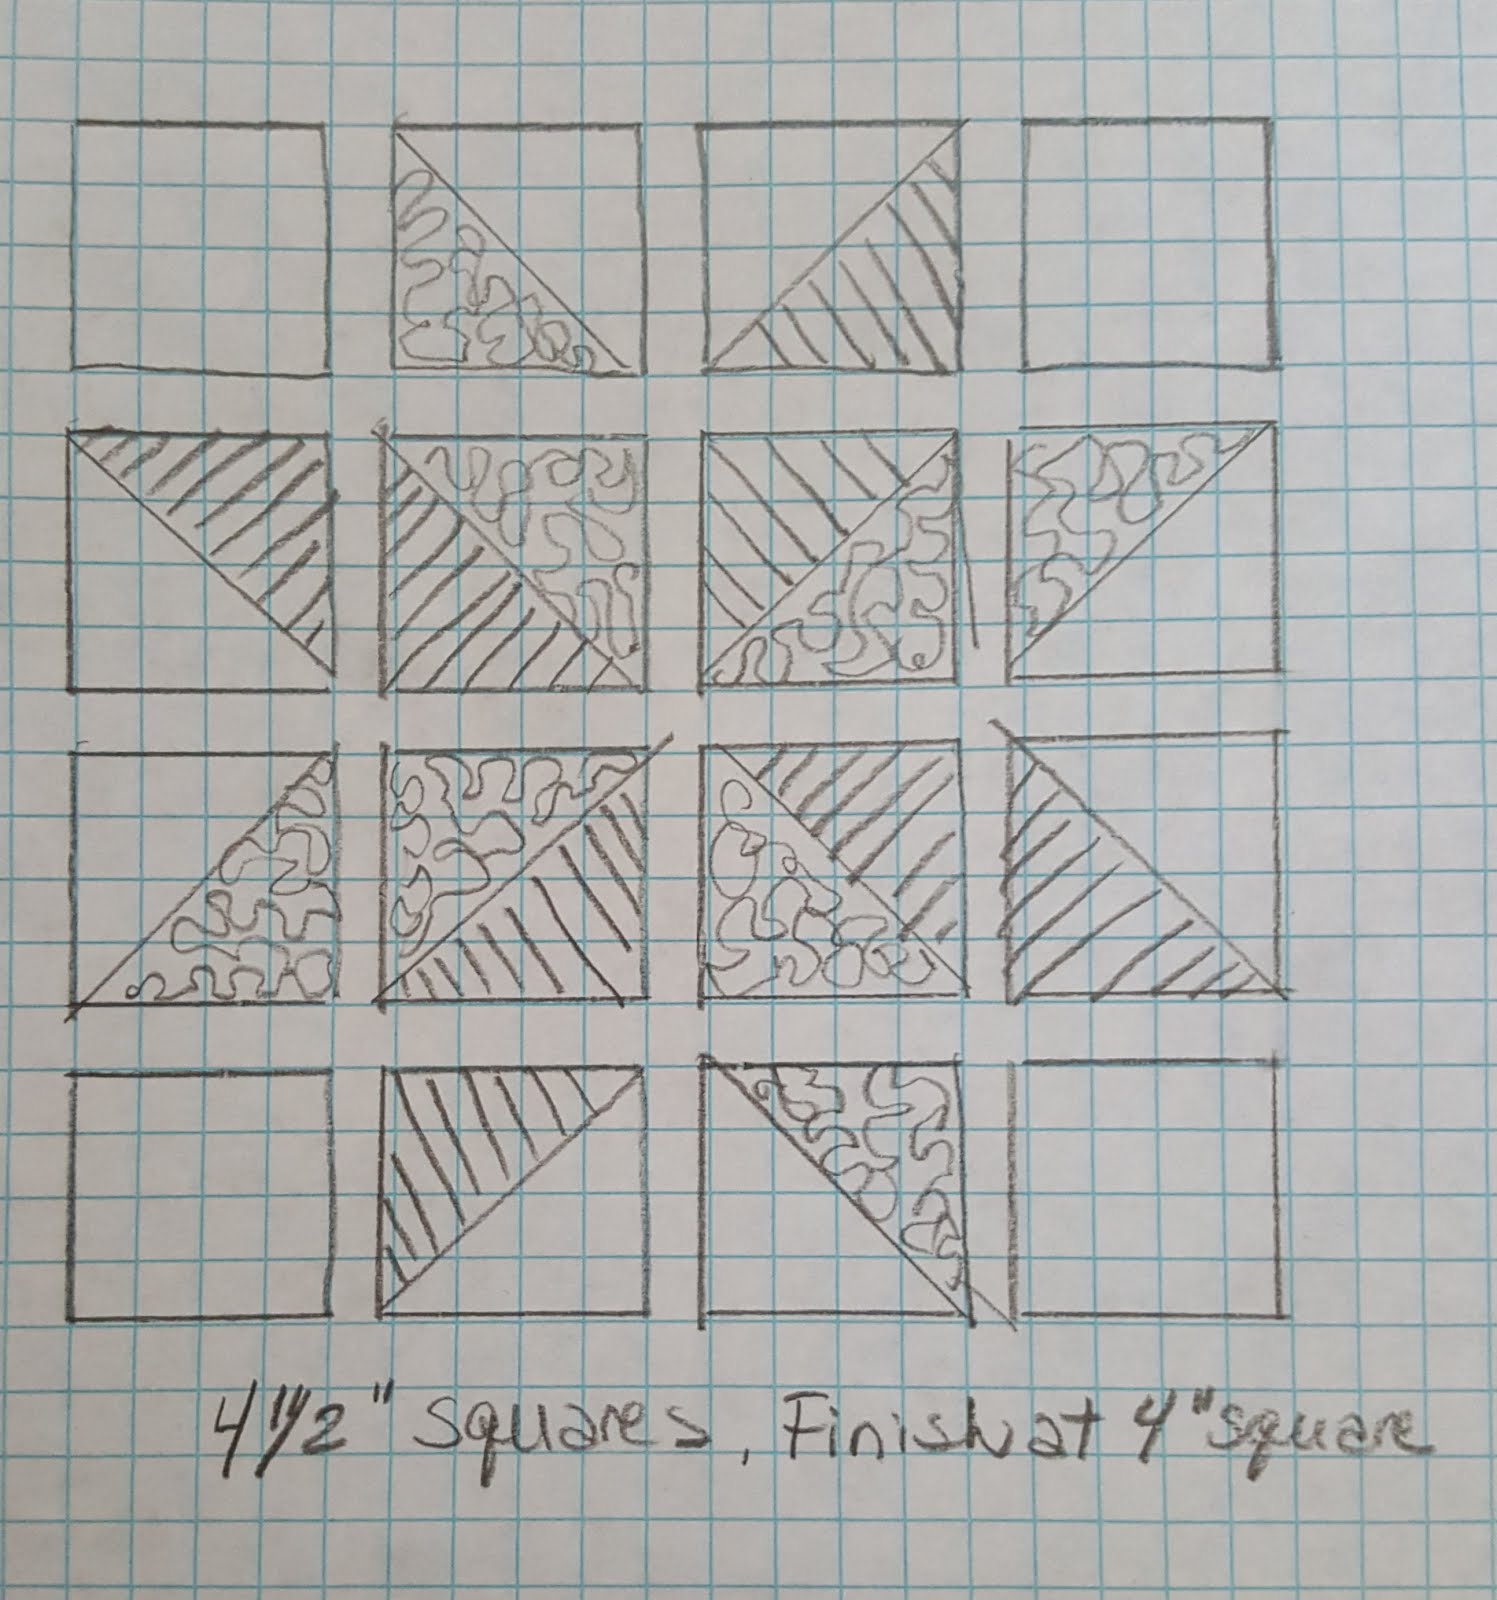
The inspiration for this quilt is from a historical block design I found in: The Quilter's Album of Patchwork Patterns by Jinny Beyer. I found
this block on page 118 block #9, it was shown with the name Lucky Knot. Jinny Beyer attributes the block to "Nancy Cabot, Chicago Tribune,1937".
After picking the Lucky Knot's block for my quilt I did a little research looking for finished quilts using that block. What I found was a quilt block tutorial on Pinterest from Art Gallery Fabrics called Lucky Knot Quilt Block Tutorial St. Patrick's Day quilt-Art. This was a great find! The tutorial was easy to follow and had clear pictures explaining how put together the block for a small table runner.
The two photos above show how I organized all the small pieces for this project.
Auditioning possible thread colors for the quilting.
In the end I went with a very light gray on the gray fabric and navy on the colored parts of the block.
The quilting was done on my domestic machine. I used a combination of floral designs.
Above are my notes on my quilting motif choices.
I added a flange to the binding in the red accent color.
The finished quilt is 80" X 88", with a flannel back in a very vintage looking tiny blue floral print.

The two negative things about this design were the amount of waste and the large seams on the bias. In order to square up each block large triangles of the gray fabric were cut off, this also left long bias edges. Those bias edges really wanted to stretch!
Work on the bias was tricky, but in the long run it seemed to work out.
The answer to the waste fabric was a study in triangle quilt designs which will be the subject of future posts.
Have a wonderful day, MaryEllen


 (wedding quilt)